Each CHATISFY bot can be connected to different Facebook Pages, and can be operated seperately. Try to modify & manage your bot in “Bot Settings”.
First, basic settings
Choose the a language for your customers, this is the language displayed in Messenger inbox. Also, connect/disconnect to Facebook page within a click, as easy as pie.
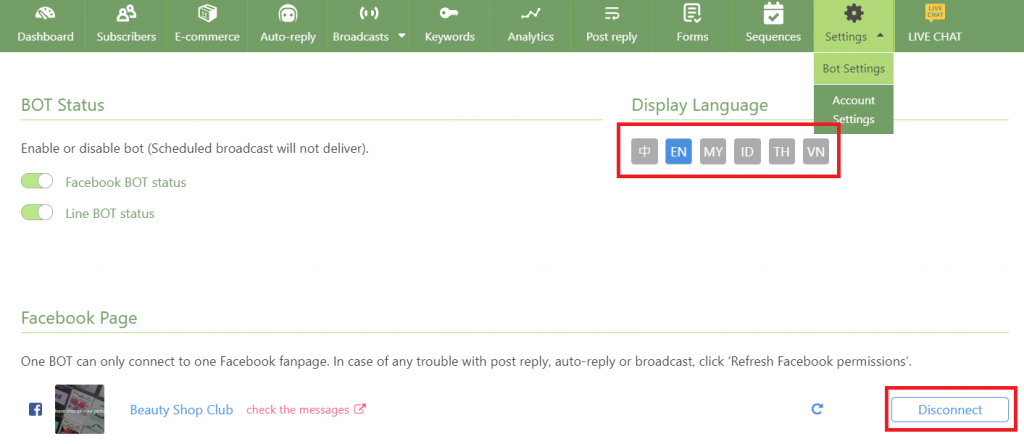
Bot settings – Select a language & connect to your Facebook page
Second, bot admin settings
You can invite partners to manage your bot together. Go to ‘BOT Admins’ and share the invitation link to your partners. They simply click the link, and next thing you know : you have a partner admin in your bot!
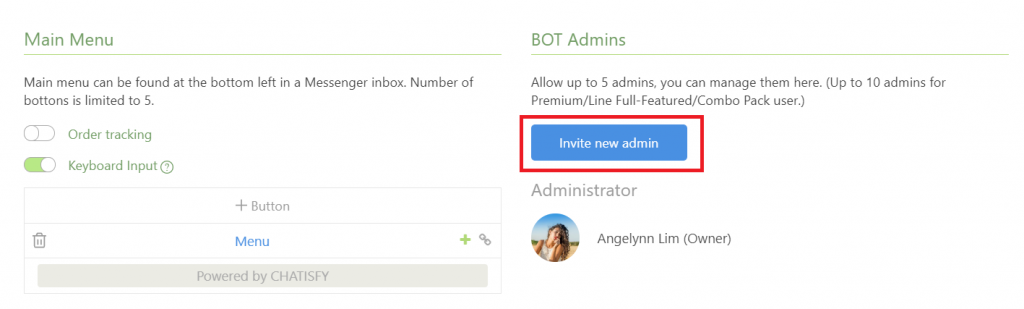
Step 1. Click ‘Invite new admin’
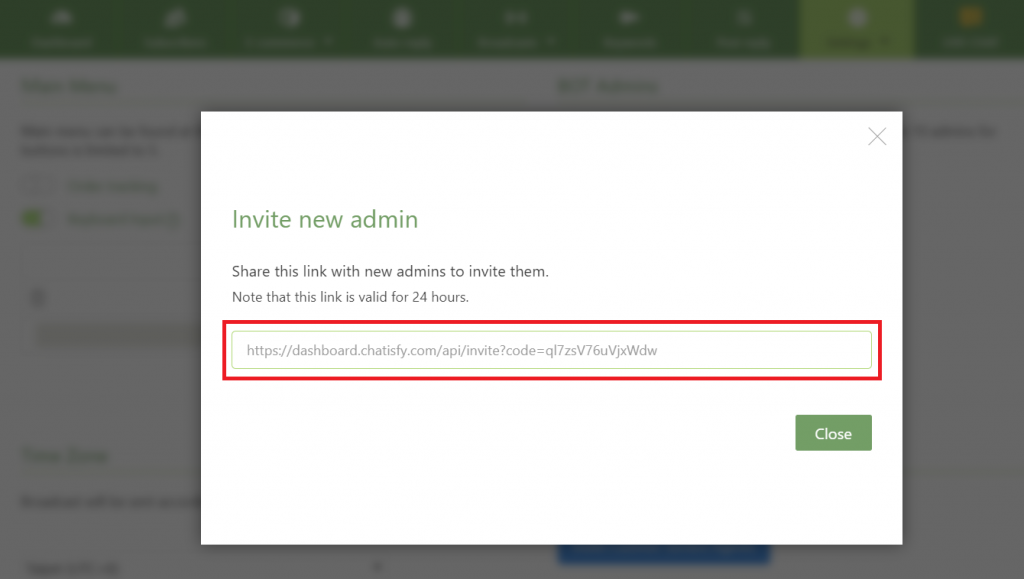
Step 2. Share the invitation link to your partner
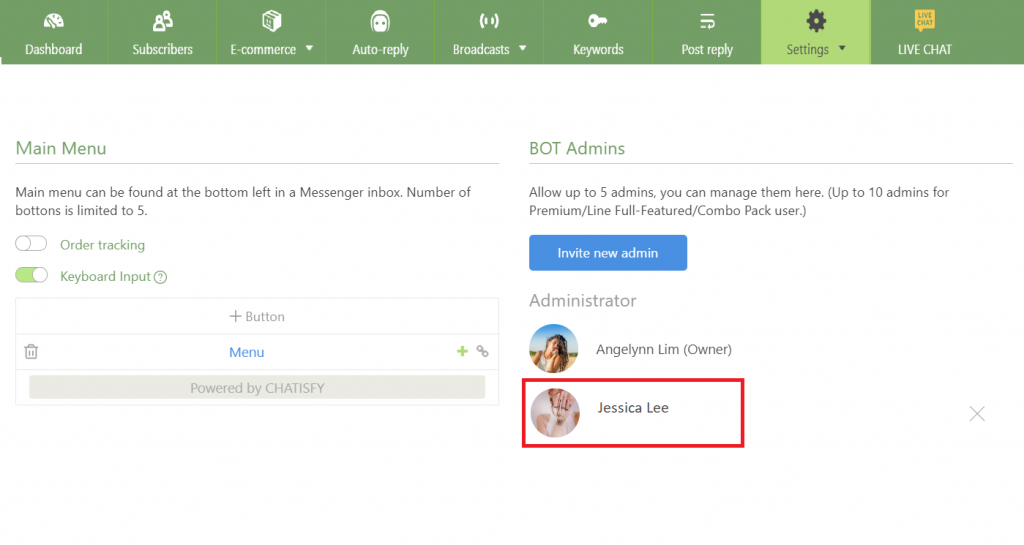
Step 3. Partner clicks the link and joined successfully
Third, customer service agents & working hours settings
Besides managing admins, you can also make yourself or your partners a customer service agent.
Whenever a user requests for customer service, agents will receive a notification via Messenger to let you know : a customer in the inbox needs your assistance !

Step 1. Click ‘Invite Customer Service Agents’
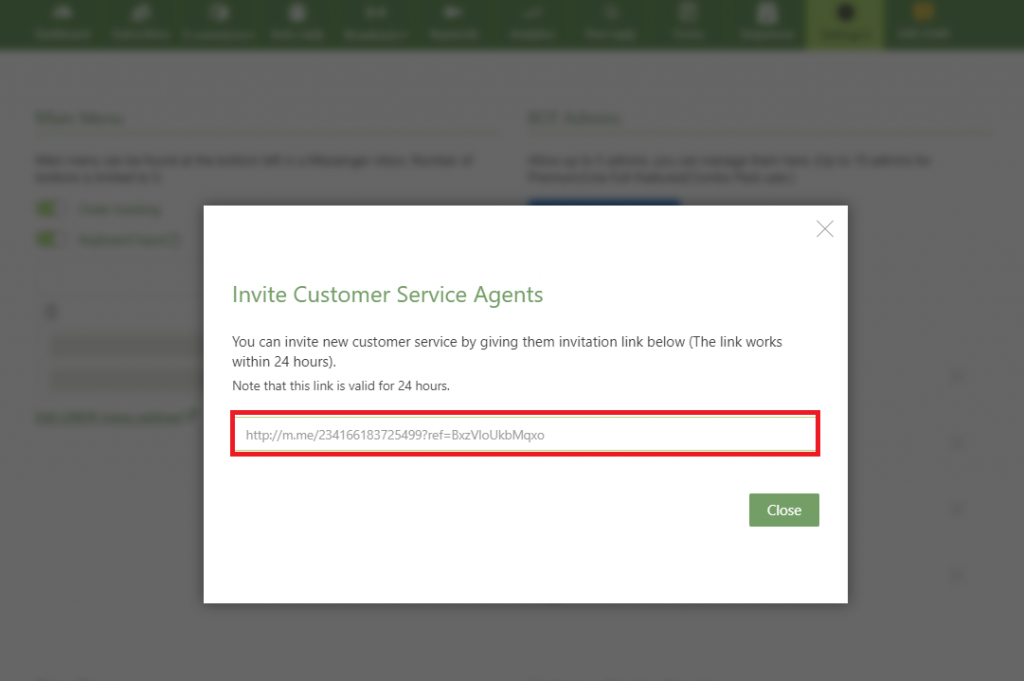
Step 2. Share the invitation link
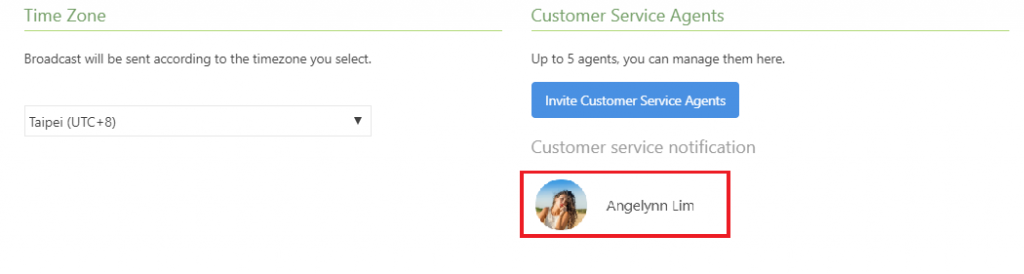
Step 3. Partner clicks the link and joined successfully
Customer service agents won’t miss any message ever! The system will notify them automatically! (Notifications includes Facebook page name/User name/Time requested)
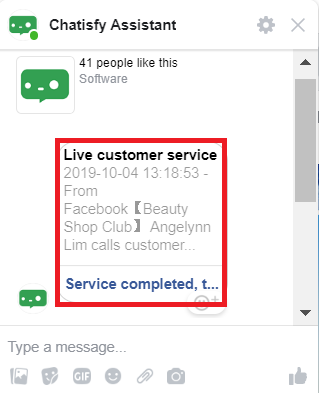
CHATISFY Assistant – Customer service automatic notification
Moreover, you can create a specific message for after-hours, to inform your customers that customer service agents will get back to them during working hours.
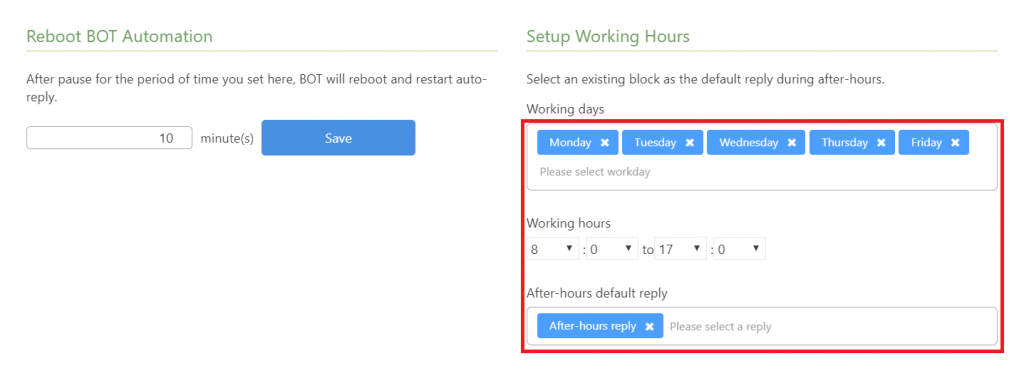
Bot settings – Working hours & after-hours reply
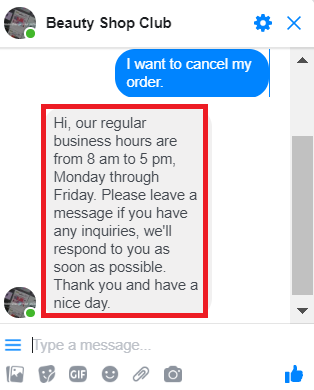
Once a user leaves a message, bot will respond with after-hours default reply automatically
Fourth, main menu settings
In Messenger, there’s a persistent menu which help users to find the informations they need. You can edit the button in “Main Menu”
After adding the button, click the ‘+’ icon on the right to select the following message from existing block ( for example: welcome message).
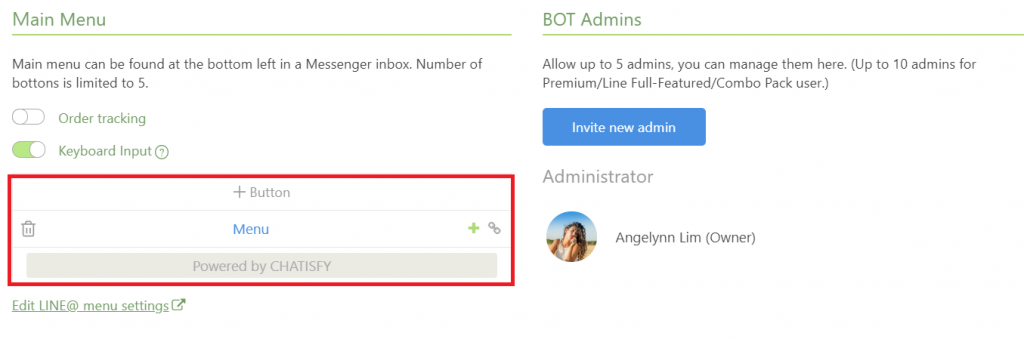
Step 1. Add button to Main Menu
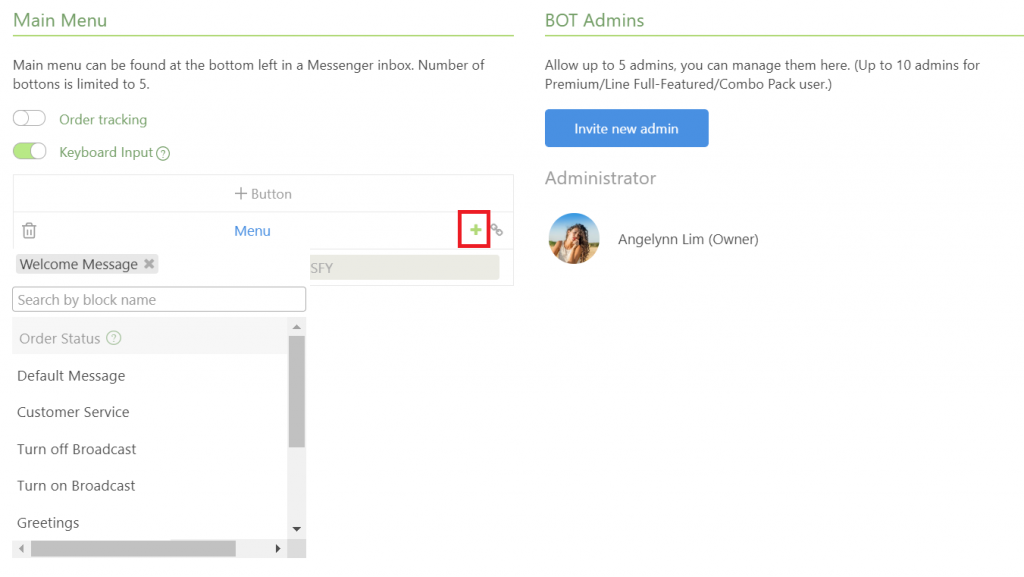
Step 2. Select Welcome Message as initial message – Done
Users can now go to Menu and find what they need.
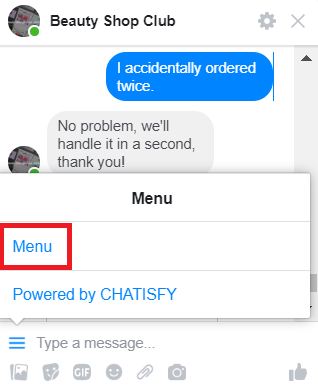
User clicks ‘Menu’ – Back to Menu
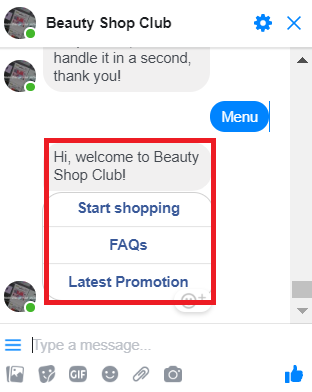
Back to initial message in one-click
Fifth, LINE account settings
Other than Facebook page, your bot could connect to LINE account in 「BOT Settings」, too.
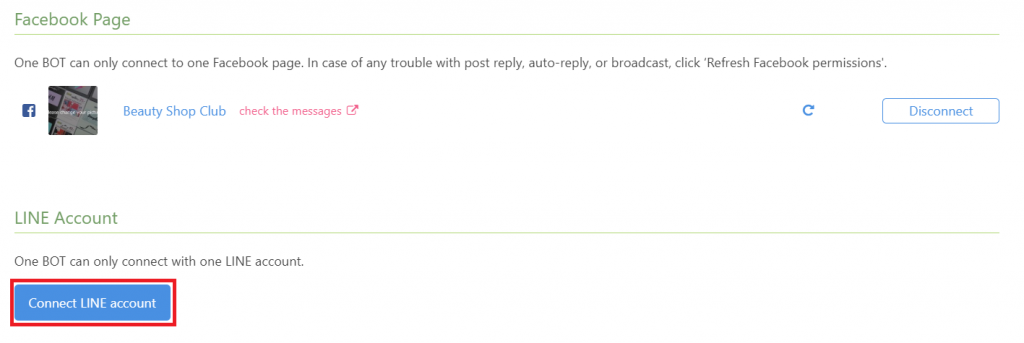
Bot settings – + LINE account
Before connecting, please make sure that your account has subscribed either Basic+ (API) Plan or Pro (API) Plan in order to complete connection.
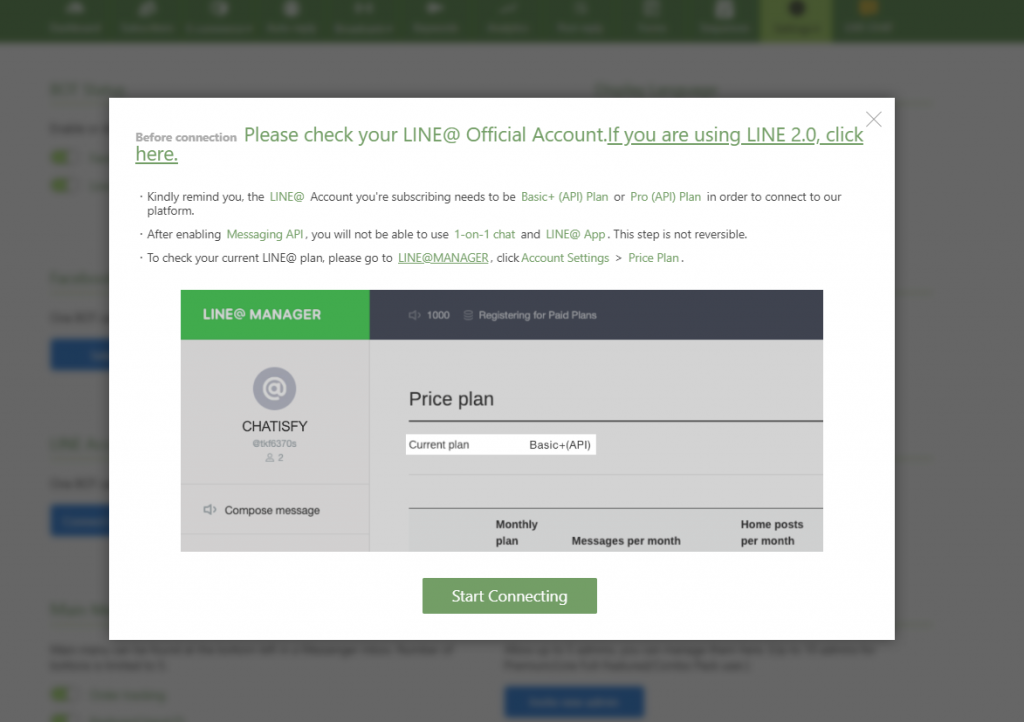
Bot settings – LINE account confirmation
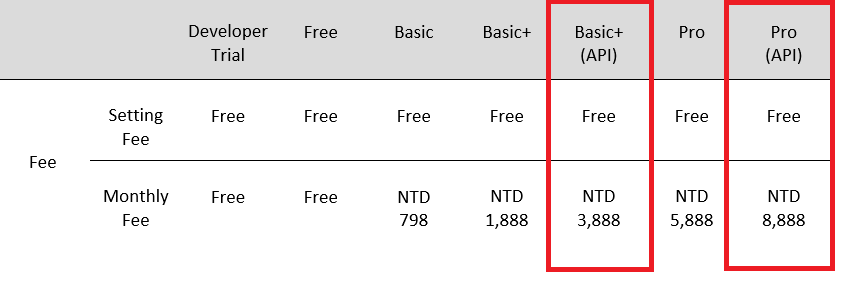
Go to LINE@ Price Plan
Go to LINE@ MANAGER to check the plan you’re currently using
➤ Steps: Go to LINE@ MANAGER > Select account > Click Account Information > Price Plan (For those who are using LINE Official Account 2.0, go to LINE Official Account Manager > Settings > Activity and Billing > Monthly Plan)
Congratulations, you’ve complete「Bot Settings」!
➤ Your exclusive bot is now ready to go, get it to work now!