(1) 把 Instagram 設定為商業帳號
註:若還沒有 Instagram 帳號,請先點我註冊,或使用手機下載 APP 完成註冊。
註:如果你是創作者帳號,請先切換成商業帳號。若切換回創作者/個人帳號,LIVECHAT 會停止運作喔!
step 1. 點擊右上角「頭貼」並點擊「設定」
![](https://blog.chatisfy.com/wp-content/uploads/2021/05/step1-1-1024x330.jpg)
step 2. 點擊「切換為專業帳號」
註:如果你是創作者帳號,紅色框標記處會顯示「切換為個人帳號」,
請先切換回個人帳號後,再點擊「切換為專業帳號」。
![](https://blog.chatisfy.com/wp-content/uploads/2021/05/step2-4-1024x655.jpg)
step 3. 選擇「商家」,並點擊「下一步」
![](https://blog.chatisfy.com/wp-content/uploads/2021/05/step3-1.jpg)
step 4. 選擇類別,並點擊「完成」
請根據你的 Instagram 帳號內容選擇。
![](https://blog.chatisfy.com/wp-content/uploads/2021/05/step4-1.jpg)
step 5. 檢查聯絡資料(可略過)
完成商家聯絡資料後(可不填寫),點擊「儲存」。
註:商業帳號切換完成後,您可隨時設定、修改聯絡資料。
![](https://blog.chatisfy.com/wp-content/uploads/2021/05/step5-1.jpg)
step 6. 點擊「完成」
![](https://blog.chatisfy.com/wp-content/uploads/2021/05/step6-1.jpg)
(2) 建立 Facebook 粉絲專頁
step 1. 點擊前往 👉 facebook.com/pages/create
![](https://blog.chatisfy.com/wp-content/uploads/2021/05/step1-2-1024x463.jpg)
step 2. 填寫粉絲專頁名稱與類別
![](https://blog.chatisfy.com/wp-content/uploads/2021/05/step2-2-1024x463.jpg)
step 3. 點擊「建立粉絲專頁」
![](https://blog.chatisfy.com/wp-content/uploads/2021/05/step3-3-1024x463.jpg)
註:粉絲專頁頭貼、封面、詳細資訊非必填,若有需要可再回來設定。
(3) 將 Facebook 粉絲專頁連結 Instagram 商業帳號
step 1. 開啟您的 Facebook 粉絲專頁,並於左側功能表中點擊「設定」
![](https://blog.chatisfy.com/wp-content/uploads/2021/05/step1-3-1024x463.jpg)
step 2. 於左側功能表中點擊「Instagram」
![](https://blog.chatisfy.com/wp-content/uploads/2021/05/step2-3-1024x463.jpg)
step 3-1. 點擊「連結帳號」
![](https://blog.chatisfy.com/wp-content/uploads/2021/05/step3-4-1024x563.jpg)
step 3-2. 開啟「允許在收件匣存取 Instagram 訊息」選項,並點擊「繼續」
![](https://blog.chatisfy.com/wp-content/uploads/2021/05/step3-2-1-1024x563.jpg)
step 4. 輸入 Instagram 帳號的用戶名稱和密碼,並點擊「登入」
![](https://blog.chatisfy.com/wp-content/uploads/2021/05/step4-3-1024x563.jpg)
step 5. 重整頁面,即完成連結
![](https://blog.chatisfy.com/wp-content/uploads/2021/05/step5-2-1024x168.jpg)
(4) 建立 LIVECHAT 聊天室
step 1. 點我前往 LIVECHAT 後台,並點擊新增聊天室
![](https://blog.chatisfy.com/wp-content/uploads/2021/05/step1-4-1024x342.jpg)
step 2. 輸入聊天室名稱,並點擊「完成命名」
![](https://blog.chatisfy.com/wp-content/uploads/2021/06/step2-1024x422.jpg)
step 3. 設定時區,並點擊「開始使用」
![](https://blog.chatisfy.com/wp-content/uploads/2021/06/step3-1024x422.jpg)
(5) 綁定 Facebook 粉絲專頁
step 1. 點擊「連接 FB 粉絲團/ IG 帳號」
![](https://blog.chatisfy.com/wp-content/uploads/2021/06/step4-1024x422.jpg)
step 2. 選擇要連接的 FB 粉絲專頁,並點擊「連接」
![](https://blog.chatisfy.com/wp-content/uploads/2021/06/step4-2-e1629098555146.jpg)
(6) 加入 Instagram 帳號
step 1. 點擊「加入 IG 帳號」
![](https://blog.chatisfy.com/wp-content/uploads/2021/06/step5-1024x312.jpg)
系統將自動加入你在 FB 粉絲專頁所連結的 IG 帳號
![](https://blog.chatisfy.com/wp-content/uploads/2021/06/step5-2-1024x280.jpg)
恭喜你成功把 IG 加入 LIVECHAT !
想自動回覆留言粉絲,請點擊👉CHATISFY Instagram 貼文回覆教學
想自動回覆留言粉絲,請點擊👉CHATISFY Instagram 限動回覆教學
追蹤 @chatisfy.ai,不只有行銷乾貨,還能搶先體驗 IG 最新玩法!
👉https://chatisfy.vip/打開IG馬上玩
常見 Q&A
你的 IG 帳號必須完成以下設定:
1. 須設定為商業帳號
2. 須與 FB 粉絲專頁連接
目前僅開放傳送圖片和文字,也可以使用預存回覆。
其他訊息格式目前仍受到 Facebook 限制,待 Facebook 開放限制後,我們也將新增其他影片、音訊等訊息格式。
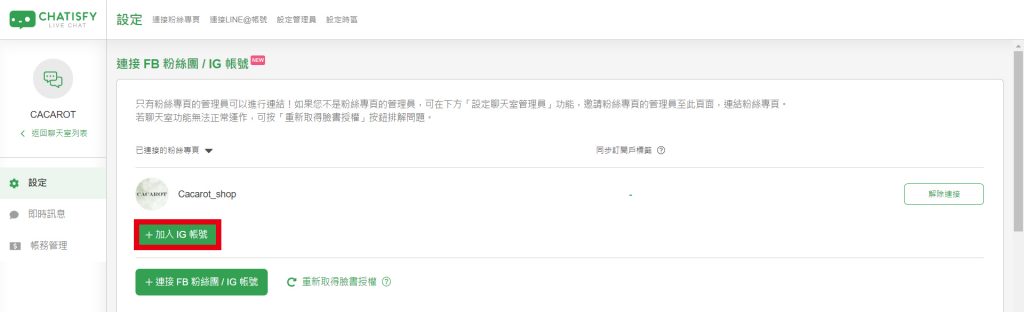
無法成功加入IG帳號有以下幾種可能的原因:
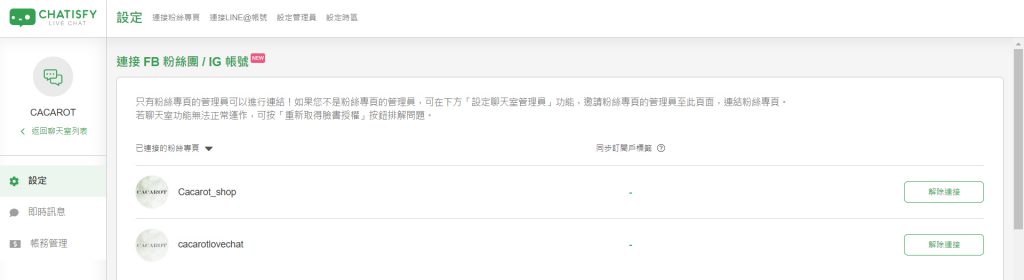
- 你不是粉專的管理員
- 你的粉專沒有連接 IG 帳號
- 你沒有打開『允許在收件匣存取 Instagram 訊息』的開關
- 你的IG帳號沒有設定為商業帳號
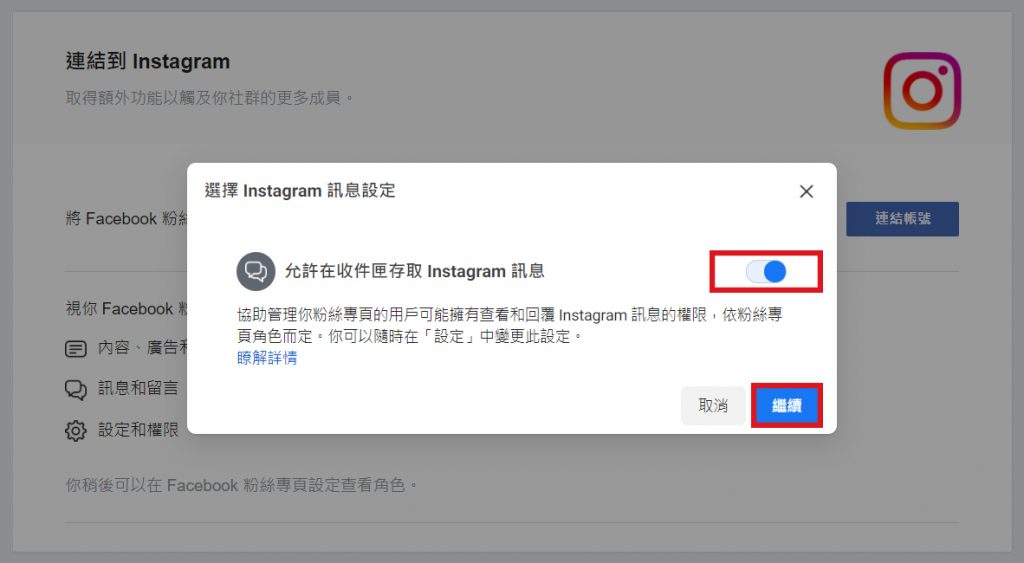
前往粉絲專頁,點開收件匣,在左側欄找到「Instagram Direct」,點開後如果出現IG的對話記錄,表示你已經打開了。如果顯示「確認Instagram訊息使用權」,請點擊「立即開始」,確認燈箱中的開關是藍色的(如下圖),並點擊確認,就成功打開開關囉!
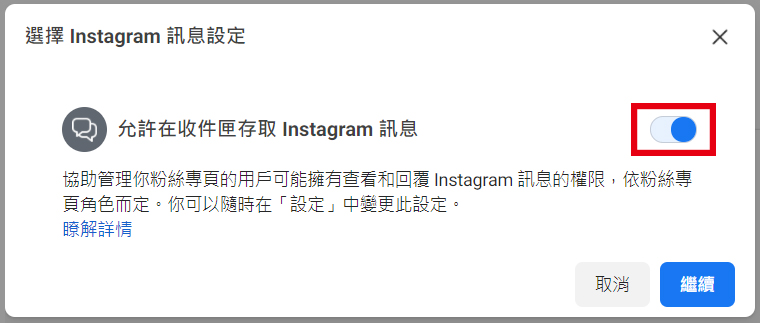
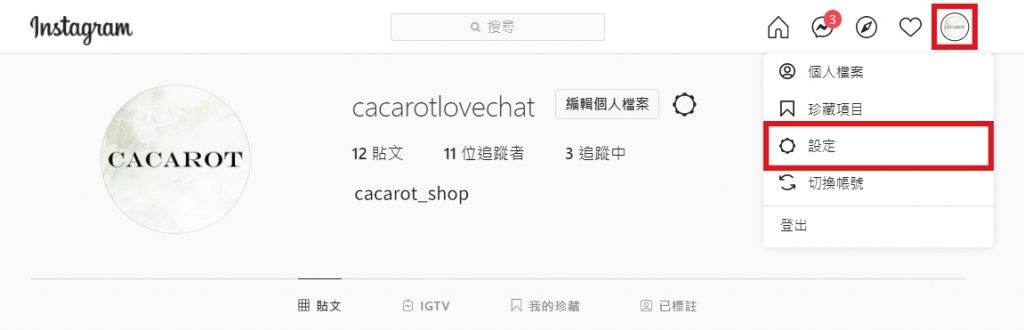
請在手機上打開Instagram app,進入個人帳號設定,查看第三個選項。
- 若為「商業」,表示你目前是商業帳號。
- 若為「創作者」,表示你目前是創作者帳號。
- 若為「隱私設定」,表示你目前為個人帳號。
如果你不是商業帳號,請點選「帳號」,滑動至頁面最下方選擇「切換帳號類型」,並選擇「切換為商業帳號」,跟著提示的步驟完成切換即可!
請先確認你符合以下所有條件:
- 你是粉專的管理員
- 你的粉專已連接 IG 帳號
- 你已打開『允許在收件匣存取 Instagram 訊息』的開關
- 你的IG帳號已設定為商業帳號
若確認無誤,請嘗試以下 2 種除錯方式:
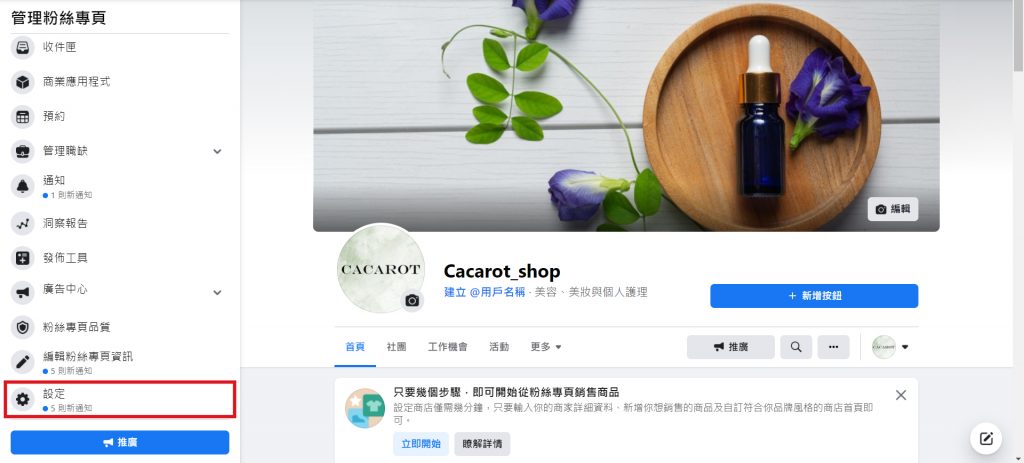
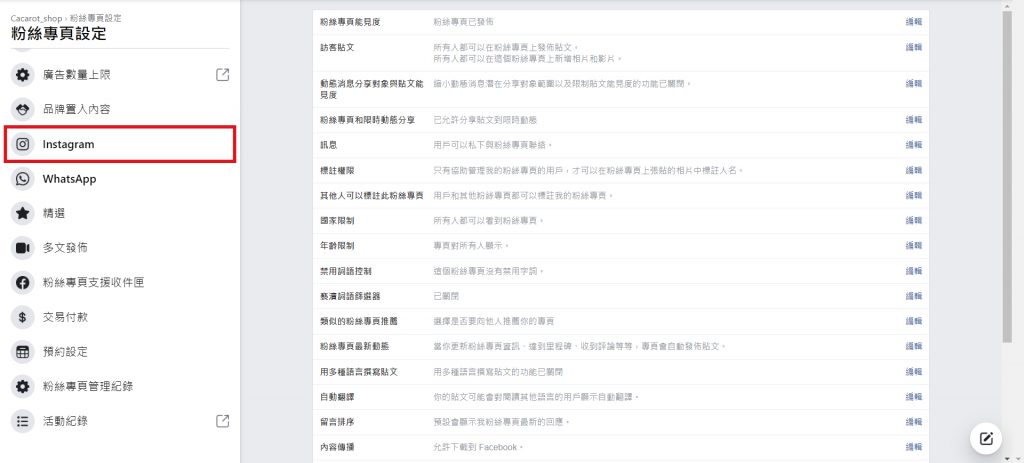
- 至 FB 粉絲專頁,點選設定,接著點選 Instagram。看看是否有出現「檢查連接」的選項,若有出現,請完成檢查步驟。
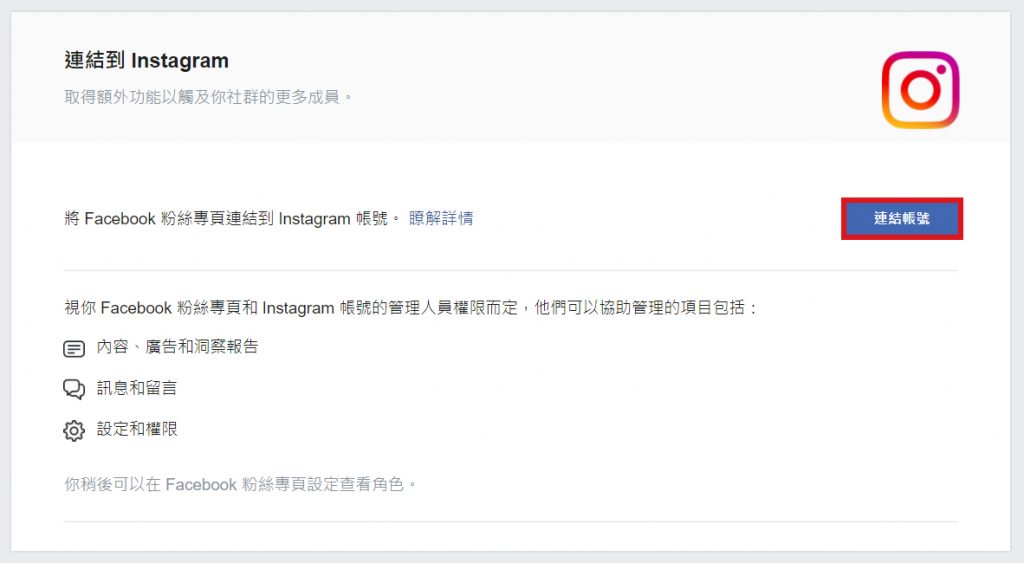
- 至 FB 粉絲專頁的設定頁,解除連接再重新連接 IG 帳號,並務必打開「允許在收件匣存取Instagram訊息」的選項。
若以上兩種方式都無法修復,請聯絡 CHATISFY 線上客服。