限時動態是品牌在 IG 上進行品牌曝光、活動擴散絕佳的窗口,限動中標記品牌參加抽獎、領取購物金的玩法很常見,而這些玩法都能巧妙結合 Chatbot,打造全自動的互動體驗!
CHATISFY IG BOT 的「限動自動回覆」是你必學的品牌曝光祕密武器,快往下學起來~
限動自動回覆,是當粉絲在限時動態中標記你的品牌,就會在私訊中收到你自動發送的訊息。
私訊方塊可以設定純文字、圖片、圖錄、按鈕,讓粉絲在私訊中與你進一步互動、填寫表單或導去外部網站、播打電話、Google Map 導航、加 LINE 官方帳號、下載APP。
※入門設定教學請點此查看
「限動自動回覆」兩大應用情境範例
【情境一:服飾抽獎】
以服飾品牌,在 IG 舉辦限動抽獎為例:

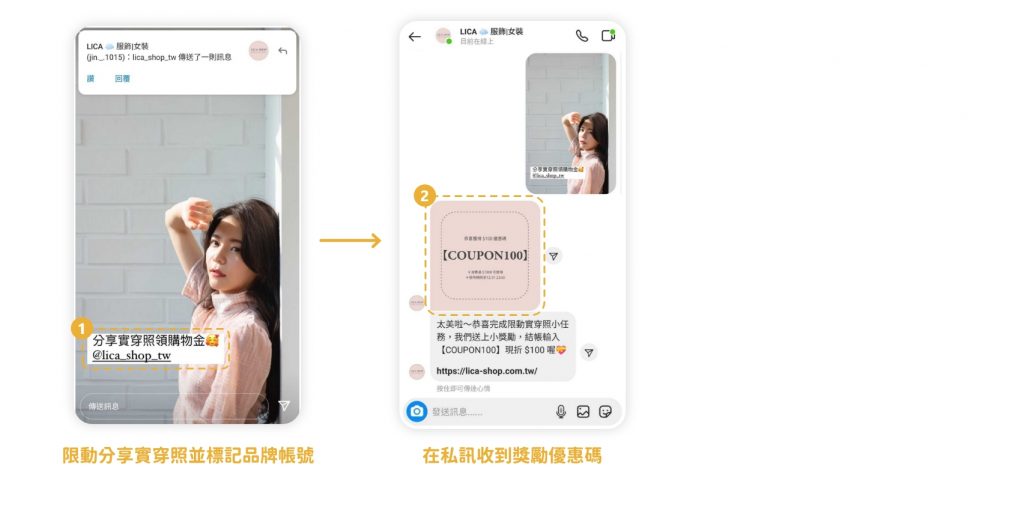
【情境二:限動UGC活動】
以服飾品牌,舉辦分享實穿照到限動,就送購物金的活動:
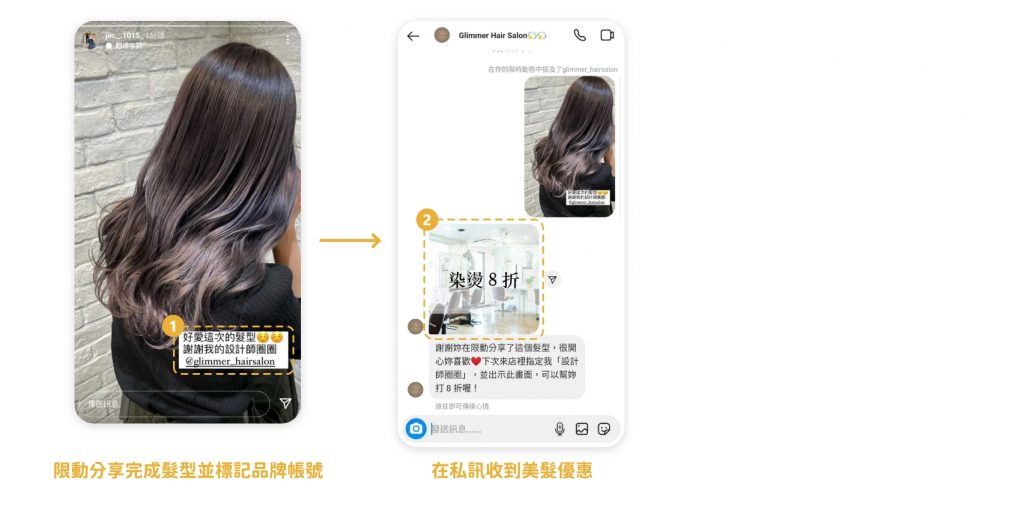
以美髮業者,分享剛完成的美髮照到限動,就能領取下次優惠折扣為例:
限動玩法設定步驟
step 0. 事前規劃與機器人流程繪製
以限動分享貼文抽購物金為情境示範,首先規劃好你的活動、獎勵,並先產製一篇專屬的活動貼文。
接著事先將機器人互動的流程繪製出來,再根據規畫依序新增所需方塊。
限動抽獎機器人流程將如下,我們將建立兩個方塊與一份表單:
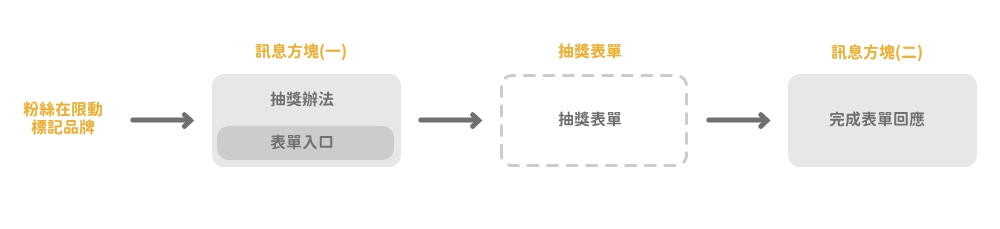
step 1. 建立抽獎起始方塊
起始方塊,是粉絲在限動標註你的 IG 帳號後,第一個收到的訊息方塊。
請明確說明抽獎辦法並引導粉絲填寫表單。
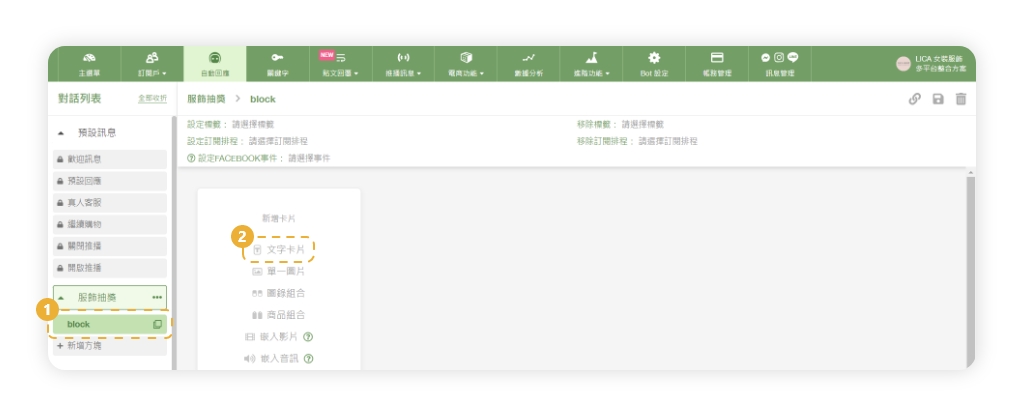
▸進到 CHATISFY 後台,點選「自動回應」,並新增「方塊」
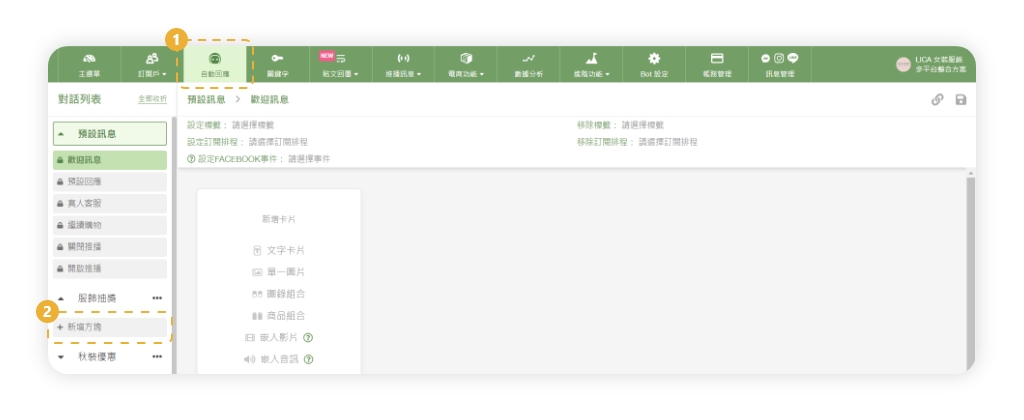
▸點選新建的方塊,並點擊「文字方塊」
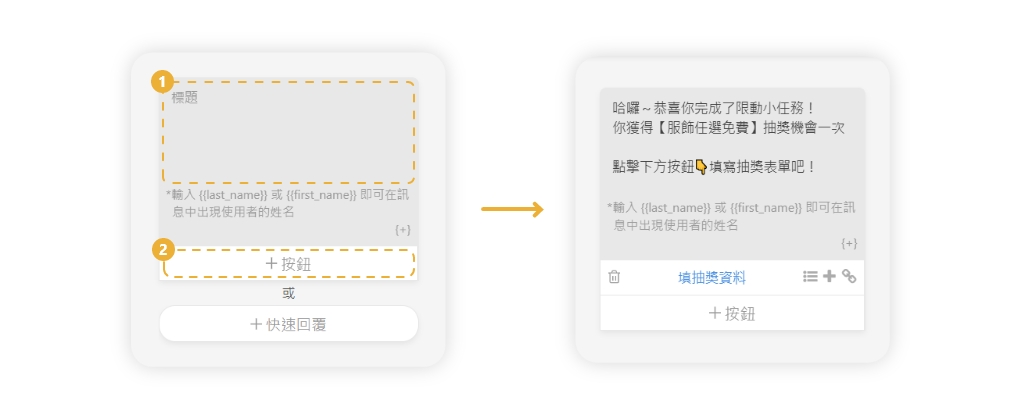
▸輸入文字與按鈕內容
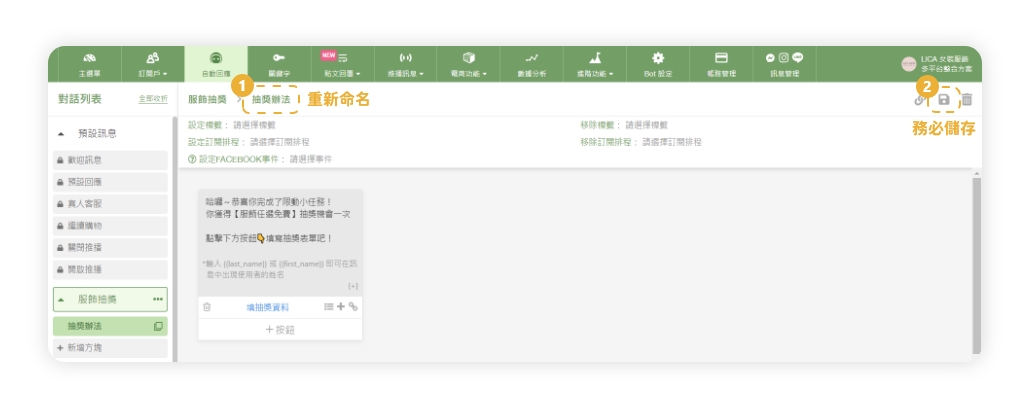
▸重新命名方塊,並點選頁面右上角的「儲存」
※請注意:每一次完成方塊編輯,務必點擊「儲存」,編輯的內容才不會消失不見喔!
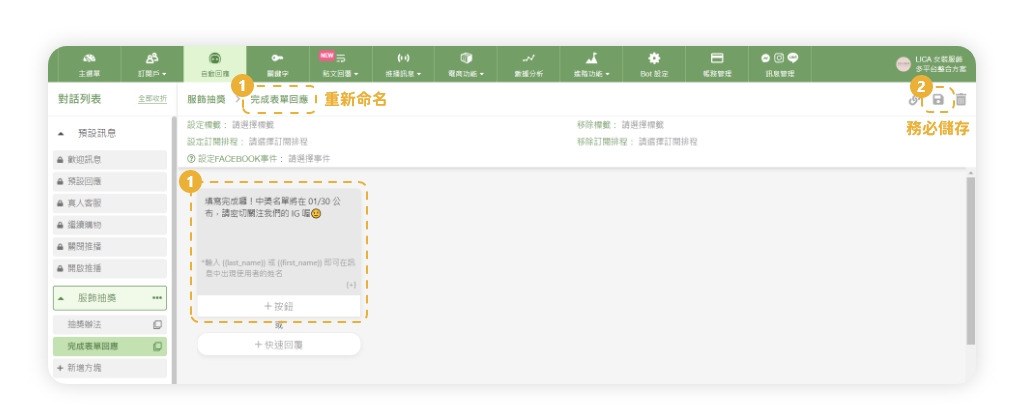
step 2. 建立表單完成後回應方塊
回應方塊,是粉絲完成表單填寫後,將收到的訊息方塊。
▸新增一個新方塊、建立文字方塊,並儲存
step 3. 建立抽獎表單
抽獎表單,可以設定你想從粉絲身上獲得的資訊,包含:姓名、連絡電話、E-mail…等等。
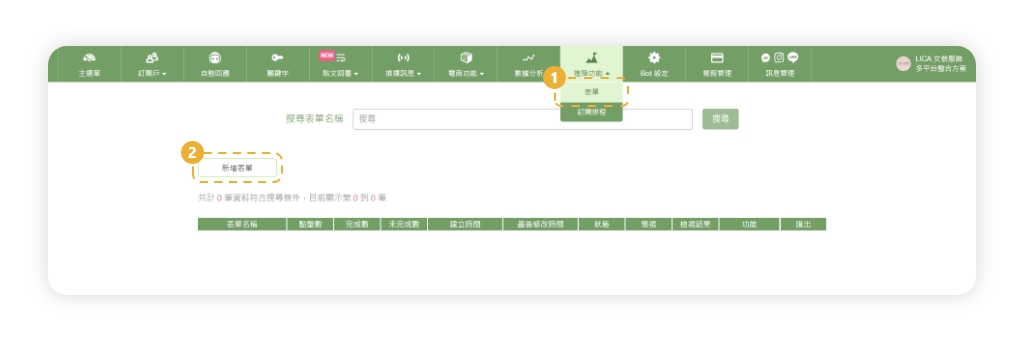
▸點擊進階功能中的「表單」,並點擊「新增表單」
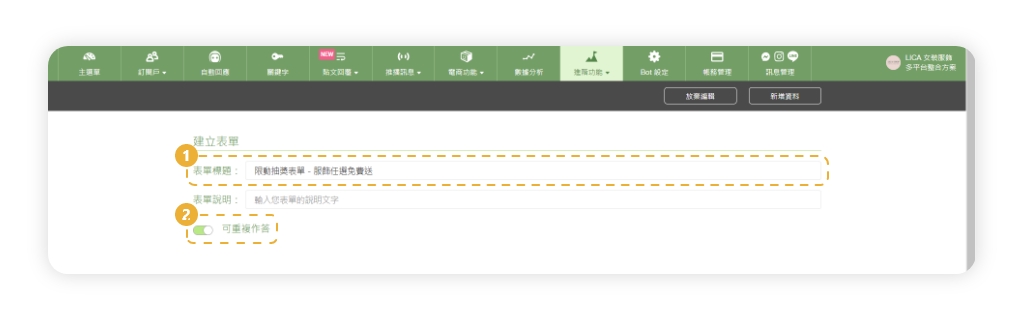
▸輸入表單標題,並設定重複作答限制
※若開啟「可重複作答」,則每一位粉絲填寫的次數將不受限制;若關閉,則每一位粉絲僅能填寫一次表單
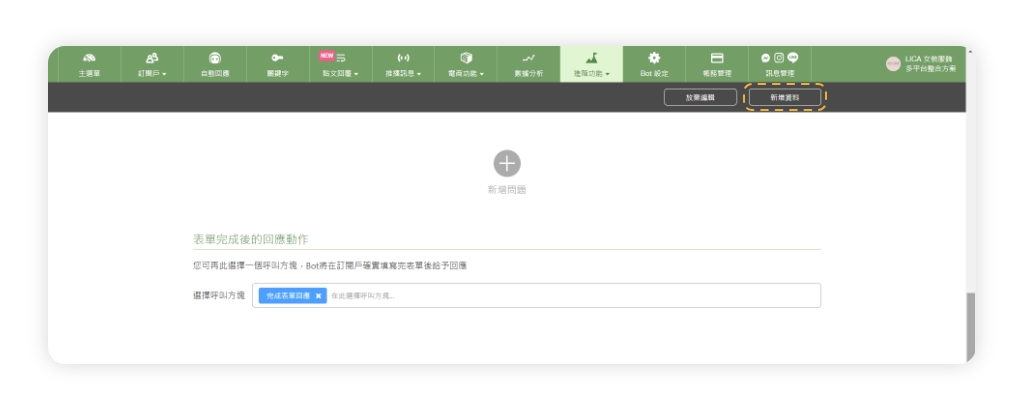
▸新增題目
※題目有單行文字、單選題、多選題…等形式可以選擇

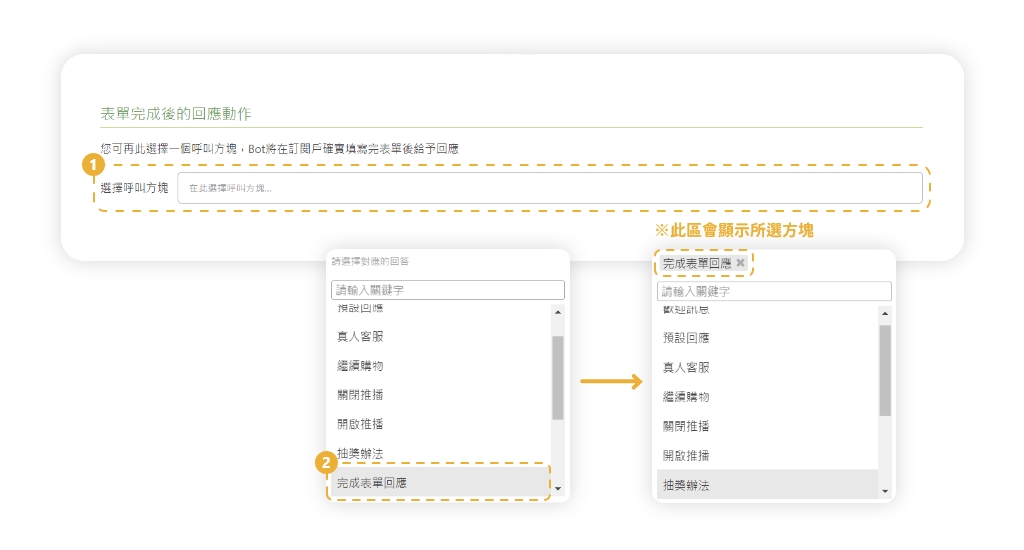
▸在表單完成後的回應,選擇剛才建立的「回應方塊」
▸點擊「新增資料」
step 4. 串接表單
▸回到自動回覆,點開之前建立好的「抽獎辦法」方塊
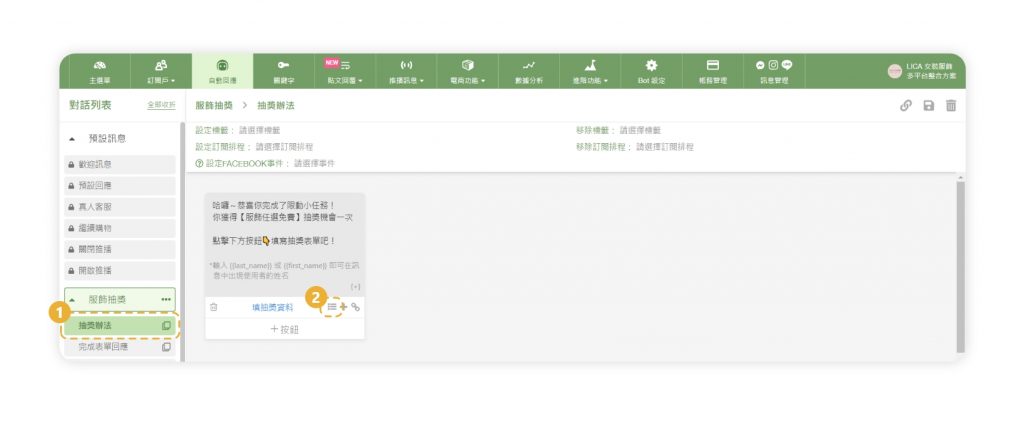
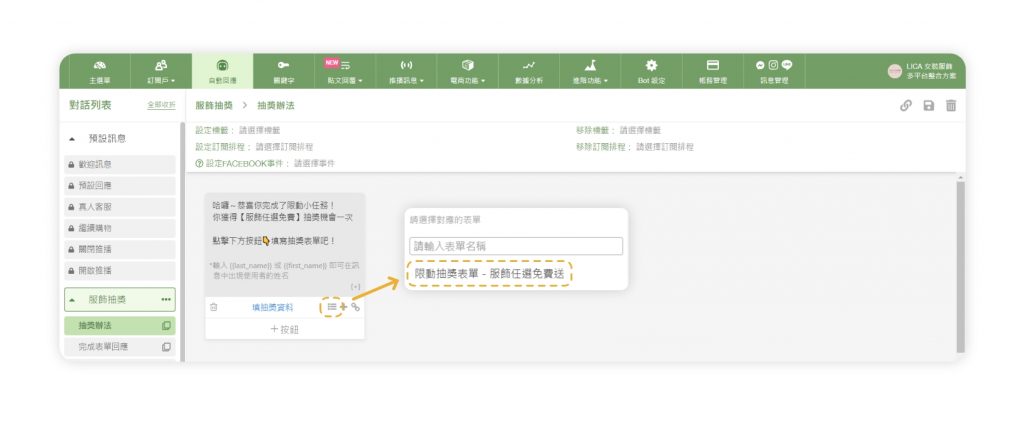
▸點擊按鈕旁的「表單符號」,並點選剛才建立的表單
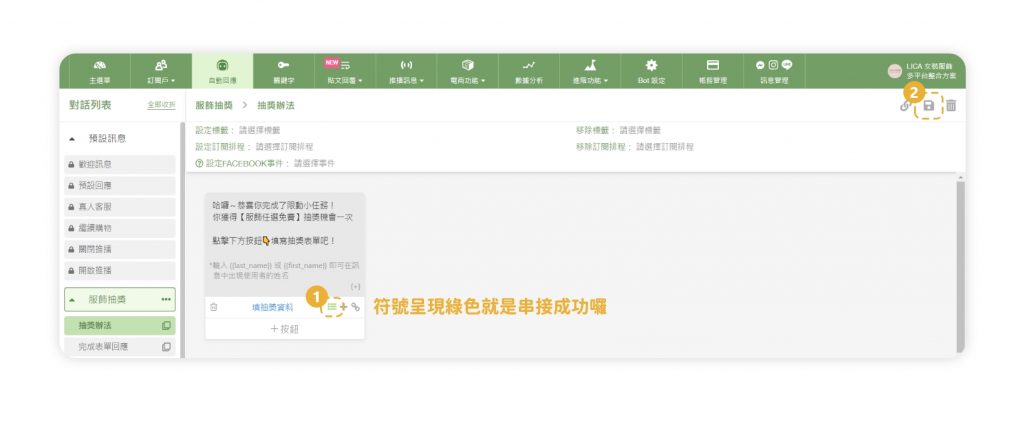
▸點擊「點擊儲存」
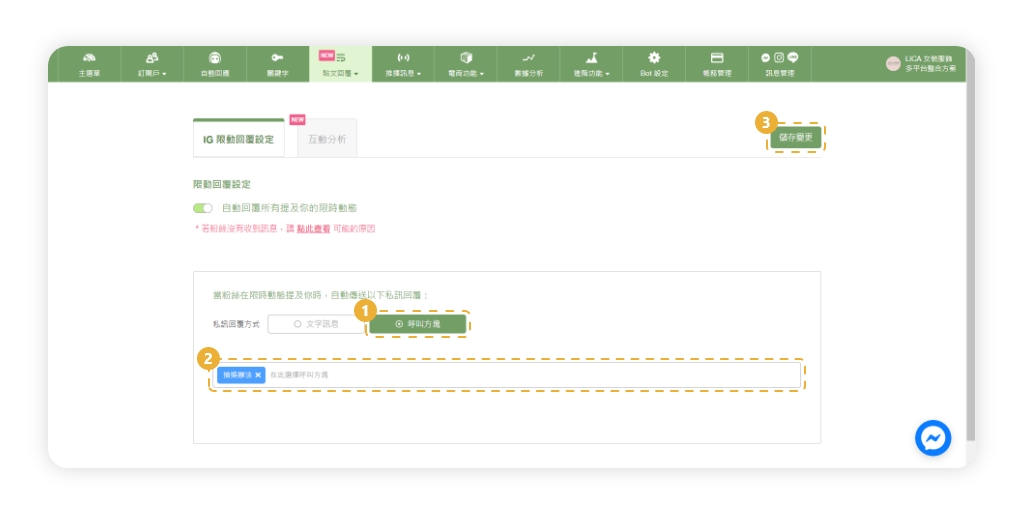
step 5. 設定限動回覆功能
▸點擊貼文回覆中的「限動管理」,並開啟限動回覆功能

▸私訊回覆方式點選「呼叫方塊」、選擇剛才建立的「起始方塊」,並「儲存變更」
恭喜你完成了「限動抽獎」的機器人設定!若你還沒啟用 IG BOT,請點擊下方按鈕立即免費試用 30 天,立刻開始打造專屬於你的 IG BOT 吧!